
Broomfield Wood Flooring handles wood floor refinishing in Broomfield, CO, serving surrounding cities including Lafayette, Northglenn, Louisville, Westminster and Superior. After more than 20 years of sanding and finishing floors, we start every refinishing job by measuring how much wood the floor has left, because that single number decides whether a floor can be brought back or has run out of sanding life.
Refinishing takes a floor down to bare wood, repairs what needs repair, and builds a new finish that suits how the house is used now. It is the answer for worn traffic lanes, graying boards, deep scratches, an outdated stain and oak that has turned orange, and it usually costs far less than tearing a sound floor out and starting again.
This page walks through what refinishing can and cannot fix, the steps we follow from inspection to final coat, how we approach the oak floors common in houses built across Broomfield since the 1990s, and how to choose a finish you will be happy living on.
What Wood Floor Refinishing Fixes And What It Cannot
Worn Finish, Scratches And Traffic Lanes
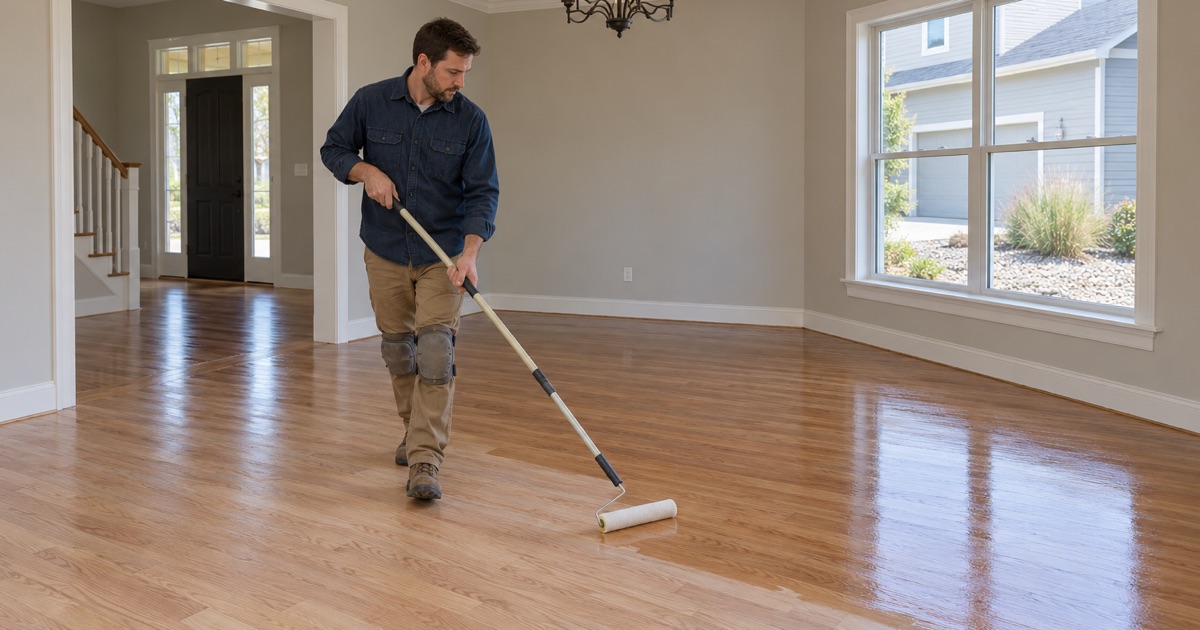
Most floors that look tired have a finish problem before they have a wood problem. Traffic lanes from the entry to the kitchen, scratches from chair legs and a dull, cloudy surface all live in the top coats. When the wear has broken through to bare wood in places, or the scratches catch a fingernail, a full sanding is what clears them.
Where the wood underneath is still sealed and sound, a lighter screen and recoat can restore the sheen for less. We look closely at the lanes and the edges of rugs, where wear hides, to tell you which one your floor actually needs rather than defaulting to the bigger job.
Graying, Water Stains And Orange Oak
Wood that has lost its finish grays as it takes on dirt and moisture, and light water stains show as pale rings or darkened edges near sinks and doors. Red oak under an older oil-modified polyurethane drifts toward orange as the finish ambers. Sanding to bare wood removes all three in most cases, and the new finish decides whether the color stays put.
Deeper water stains are the exception. When moisture has sat long enough to darken the wood itself, the mark can survive sanding, and we test a small area before committing to a color so a stain does not reappear under a fresh coat of finish.
When Boards Need Replacing Before Any Sanding
Some damage runs deeper than a sander can reach. Black pet urine stains, boards split by cracking and checking, cupping from an old leak and boards worn thin above the tongue need board replacement first. We weave new boards into the existing floor, then sand the whole area together so the repair disappears under one continuous finish.
Our Step-by-Step Wood Floor Refinishing Process
Step 1: Inspection And Moisture Readings
We measure the wood left above the tongue, take moisture meter readings across the floor, and note gaps, squeaks, stains and loose boards. A floor that is carrying extra moisture should not be sanded until it settles, since boards that move afterward will open the finish along every seam.
This is also where we confirm what the floor is. Solid strip oak, engineered planks and older parquet each sand differently, and a floor that has been refinished before may have thin spots near thresholds where an earlier crew pressed too hard.
Step 2: Repairs, Preparation And Containment
Loose boards are refastened, damaged boards replaced and nail heads set before sanding starts. We remove quarter round where it needs to come off, seal doorways and vents, and plan the room order so you keep a path through the house.
Step 3: Dustless Sanding Through The Grit Sequence
The drum sander handles the field, an edger reaches the walls, and an orbital sander blends the two and removes swirl marks. Each pass moves to a finer grit, and skipping a step leaves scratches that stain will highlight, which is why the grit sequence is never shortened on our jobs.
The sanders run connected to a dust collection system, so most of the dust goes into the collector instead of settling on shelves and vents. Between passes we vacuum and inspect the floor under a raking light, which shows chatter marks and missed spots before any stain can lock them in.
Step 4: Stain Samples On Your Floor
If you want color, we lay stain samples on your freshly sanded boards and let you judge them in daylight and lamplight. Where a darker stain needs to absorb evenly, we use water popping to open the grain first so the color does not go blotchy.
Step 5: Finish Coats And Cure Time
We apply sealer and finish coats with light abrasion between them for adhesion. The floor can take careful foot traffic once dry, but full hardness comes with cure time, so we give you a written schedule for furniture, rugs and cleaning.
Refinishing Oak In Broomfield Homes Built Since The 1990s
Site-Finished Oak With Sanding Life Left
Census data shows 55.3 percent of Broomfield’s housing was built in 2000 or later, and many of those houses carry site-finished oak floors that are now due for their first or second sanding. Those floors usually have plenty of wood left, which makes refinishing the obvious choice over replacement once we have confirmed the thickness above the tongue.
The common complaint on these floors is color rather than damage. A golden or honey stain that looked right twenty years ago can read dated today, and sanding to bare wood gives you a clean start for a natural finish, a gray-leaning tone or a deeper brown.
Engineered Floors And The Wear Layer
Engineered floors can be refinished only as far as their engineered wear layer allows. Thicker wear layers take a full sanding; thin ones may only accept a screen and recoat. We check the layer at an exposed edge before promising anything, because sanding through to the core cannot be undone.
When a wear layer is too thin for a full sanding, the honest options are a screen and recoat to refresh the surface, board replacement in the worst areas, or new flooring. We explain which one gives you the most years for the money rather than sanding a floor that cannot take it.
Older Homes Built Before 1978
About 20.9 percent of Broomfield’s homes were built before 1980. In houses older than 1978, sanding near painted baseboards, stair risers and trim falls under the EPA RRP Rule, so we confirm the build year and plan containment around any painted surface the job will disturb.
Choosing A Finish And Sheen For A Refinished Floor
Waterborne, Oil-Modified Or Hardwax Oil
Waterborne polyurethane stays clear, dries quickly and carries little odor, which suits white oak, maple and gray tones. Oil-modified polyurethane builds warmth and deepens as it ages. Hardwax oil penetrates the wood for a natural, low-sheen surface that can be spot-repaired, at the cost of more routine care.
The right choice depends on the room as much as the look. A busy kitchen and a mudroom entry from the garage take more abuse than a bedroom, and some households pick a tougher finish downstairs and a softer, natural one upstairs. We talk through each room before the finish is ordered.
Picking The Sheen Level
Matte and satin sheen levels hide fine scratches, pet traffic and dust far better than semi-gloss or gloss. Brighter sheens show every imperfection in the sanding, which is why we usually point households with pets and children toward matte or satin for living areas.
Caring For The Floor After Refinishing
Felt pads under furniture, mats at exterior doors and a cleaner approved for your finish do most of the work. Watching indoor humidity through the winter helps too, because a refinished floor that dries out will open seasonal gaps and can stress the new finish along the seams.
- 20+ Years on Wood Floors
- Moisture Readings Before Repairs
- Stain Samples on Your Own Floor